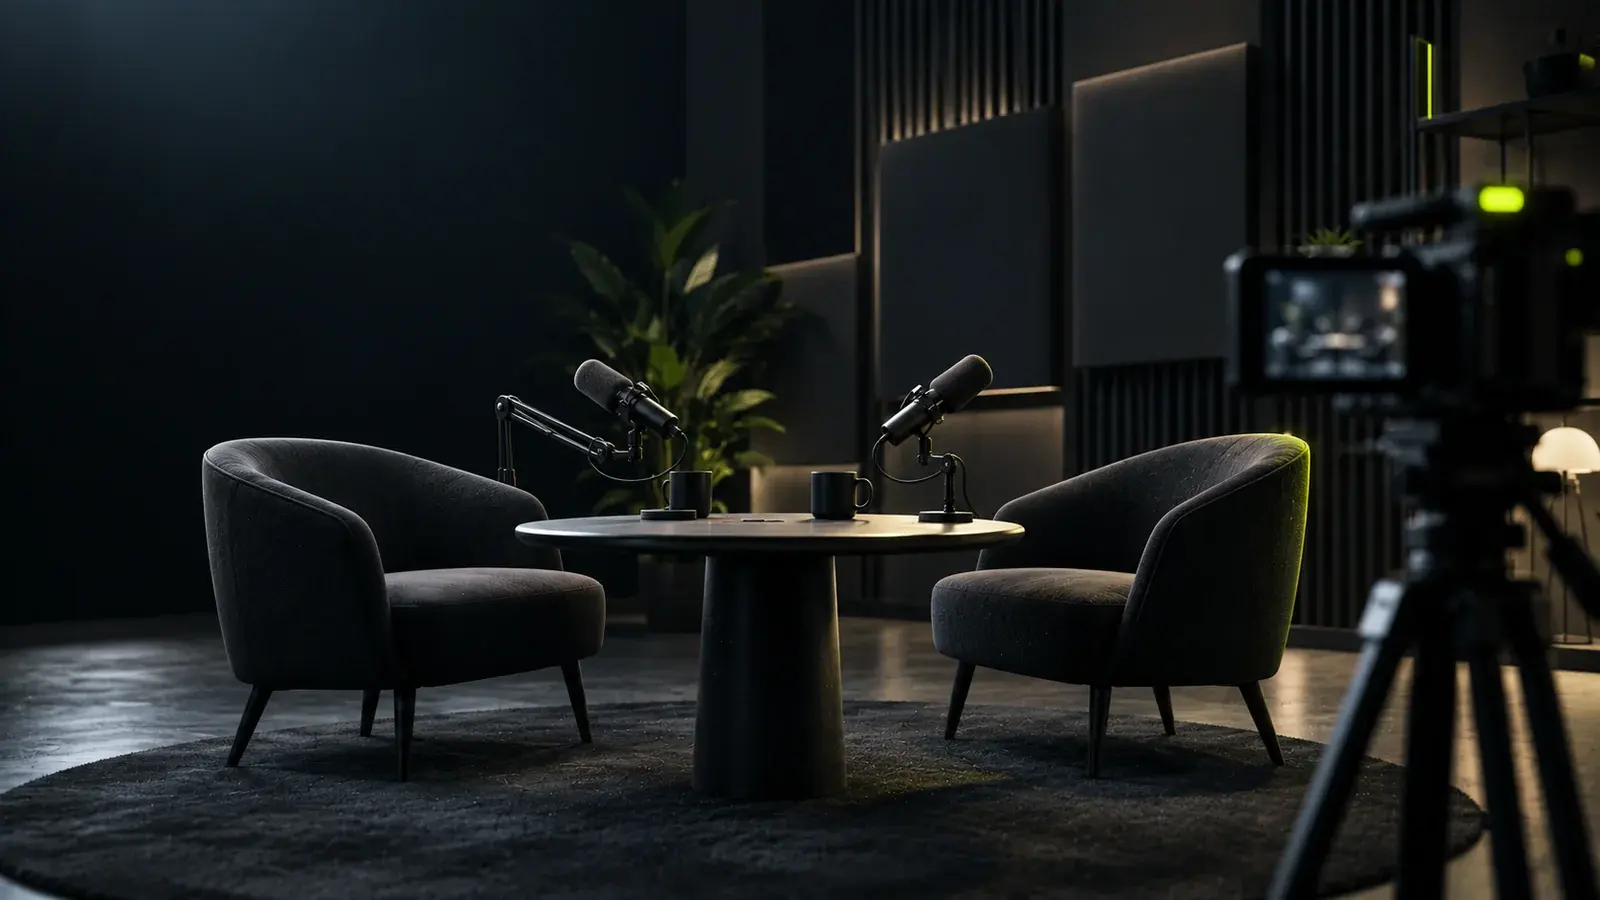

-
 Find Pick self-contained moments
-
 Hook Open on the strongest line
-
 Reframe Vertical 9:16, face in view
-
 Caption Readable without sound
-
 Polish Tight pacing, clean audio
-
 Export One version per platform
Why clips are worth the effort
A full episode is made for people who already know you and want more. A short clip is how new people meet you. It costs a viewer seconds instead of an hour, and it can point them to the full episode when the idea lands. That is why one recording can do two jobs: the long version for depth, and several short versions for discovery.
Clips do not guarantee views. What they do is make each idea easy to watch and easy to share, which improves the odds that the right person finds you.
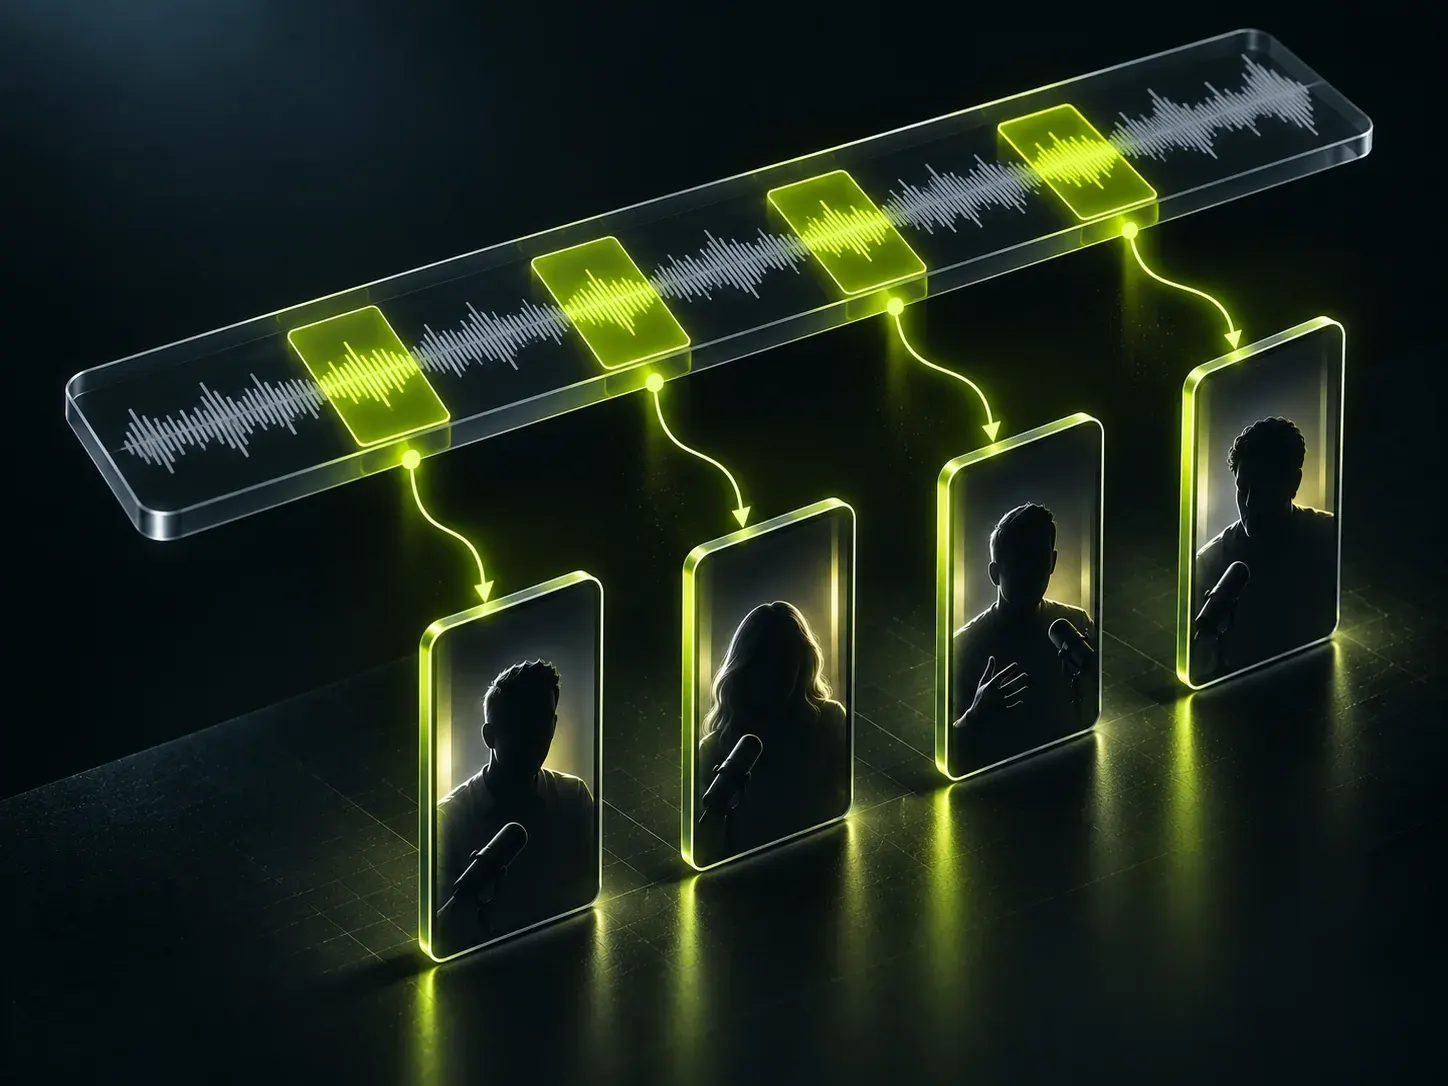
Step 1: Find the moments
A moment works as a clip when it passes four tests:
- One idea. If you need two sentences to explain what the clip is about, it is probably two clips.
- Makes sense alone. A stranger should follow it without having heard the rest of the episode.
- Has tension or a point. A strong opinion, a story with a turn, a surprising fact or a piece of clear advice.
- Has an ending. It should land on a conclusion, not stop mid-thought.
To find them, search the transcript for words like "the mistake", "the reason", "what nobody tells you" and "for example", or listen once at faster speed and note timestamps as you go. Shortlist eight to ten per episode, then publish the best three to five. Keep the rest for later.
Step 2: Write the hook
The first second or two decides whether someone keeps watching. Start on the strongest sentence, not on the lead-in. Cut everything before it, and if the opening is weak, add a short line of on-screen text that states the point.
Weak opening: "So, the next thing I wanted to talk about today is how you price your services."
Stronger opening: "Most people price their service too low, and here is why."
You can only use words the speaker actually said, so choose moments that already contain a strong first line, and trim to it rather than inventing one.
Step 3: Reframe to vertical
Short-form platforms are built for vertical video, which is 9:16 and usually 1080 by 1920 pixels. A wide recording does not simply crop: the framing has to follow the speaker.
- Keep the speaker's face in the upper-middle of the frame, with room above the head.
- With two speakers, switch to whoever is talking, or stack them, instead of cropping to the centre of a wide shot.
- Keep important text and faces clear of the bottom and right edges, where platform buttons and captions sit.
- Screen shares and slides usually need to be re-laid out, not cropped.
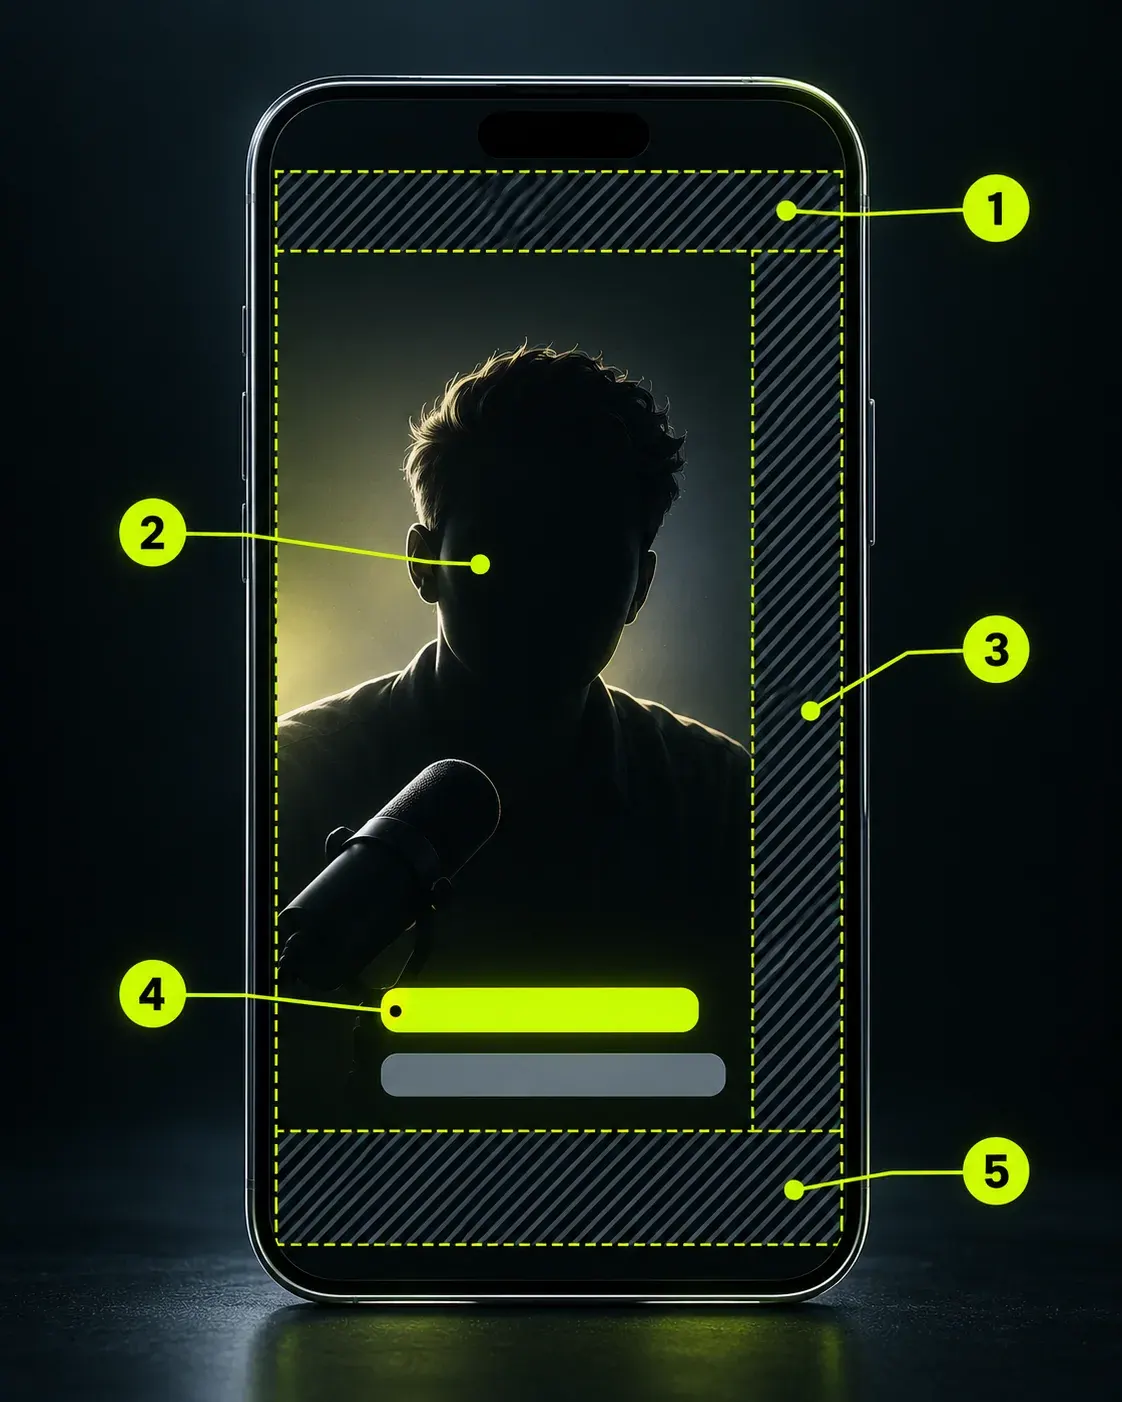
- Platform header. Search, tabs and the account bar sit here, so keep important text out of the top strip.
- Face in the upper-middle. Leave room above the head and keep the speaker clear of the edges.
- Action buttons. Like, comment and share buttons cover the right edge on most platforms.
- Captions above the bottom bar. Place captions in the lower third, but above the area used by the description.
- Description and sound bar. Username, post text and music details overlay the bottom of the frame.
Step 4: Add captions that work without sound
Many people watch with the sound off or low, so captions often carry the message. Good captions are fast to read and match the speech.
- Show a few words at a time, in line with how the person is speaking.
- Use high contrast and a consistent font and colour so the clips look like one series.
- Highlight the one word that carries the point, and not more than that.
- Check spelling, especially names, brands and numbers.
- Keep captions off the face and out of the platform's button area.
Step 5: Tighten the pacing and the sound
Remove long pauses, repeated starts and filler words, and cut on natural breaks so the edit does not feel jumpy. Make sure the voice is clear and at a steady level. If you add music, keep it well under the voice. Add motion graphics only where they explain something, such as a number, a list or a key phrase. Decoration that does not help the viewer understand is better left out.
Step 6: Export and post for each platform
- Export vertical 9:16 for YouTube Shorts, Instagram Reels and TikTok. Platform limits on length and file size change, so check the current ones before you publish.
- LinkedIn accepts vertical video, but it rewards a more professional tone, so rewrite the post text for that audience.
- Write a fresh caption for each platform instead of pasting the same one everywhere.
- Pick a cover frame with a face or a clear line of text, and link to the full episode where the platform allows it.
Common mistakes
- Starting the clip with an introduction instead of the point.
- Picking a moment that needs the earlier conversation to make sense.
- Small, low-contrast or off-timing captions.
- Cropping a wide shot to the middle and cutting off the speaker.
- Posting every clip on the same day instead of spacing them out.
- Changing the look of every clip, so nothing feels like a series.
A simple workflow for every episode
- Publish the full episode.
- Generate a transcript and mark eight to ten moments.
- Choose the three to five strongest and write the hook for each.
- Edit them in vertical with captions and clean sound.
- Schedule them across the following days, with a different caption on each platform.
Should you do this yourself?
If you enjoy editing and have the time, doing it yourself is a good way to learn what works for your audience. If finding moments, reframing and captioning is taking you more than a couple of hours for each episode, handing it to an editor usually pays for itself in time. In that case, the next guide covers what to prepare before handing footage to a video editor.